
Chained Beasts Arena Hazards and Environmental Attacks
Understand the documented urn, spike-wall, snake-pit and chain-obstacle interactions, with positioning advice that avoids invented map layouts or damage values.
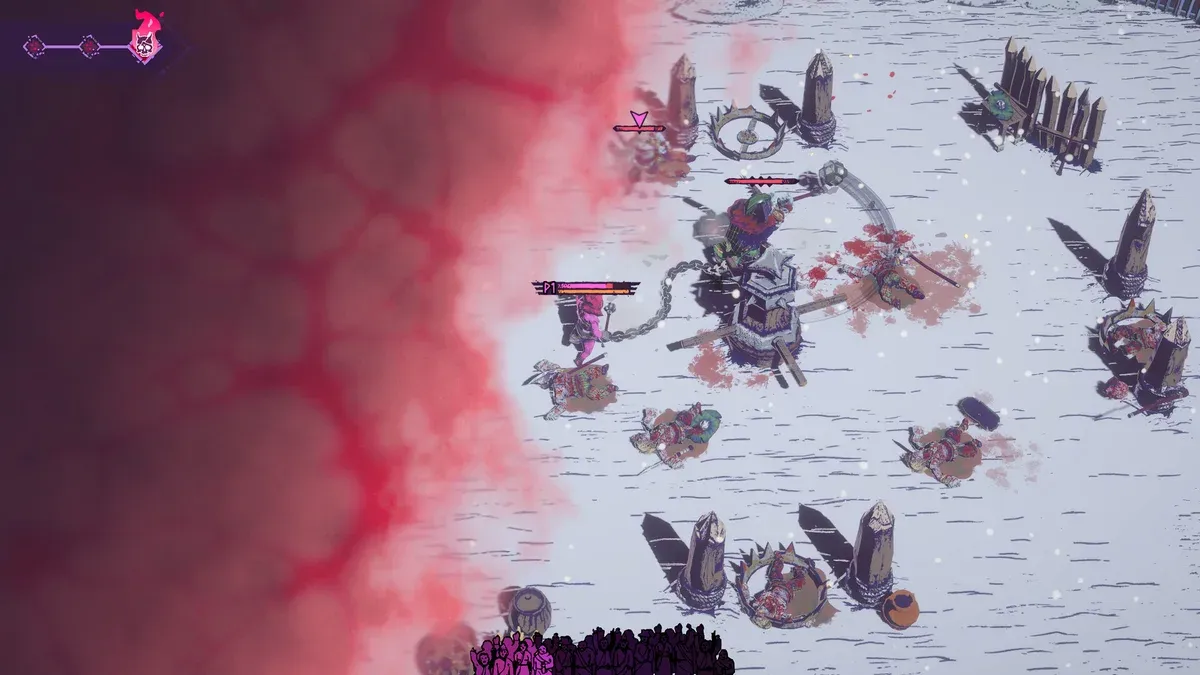
Which environmental interactions are documented?
Featherweight Games presents the arena as part of the combat toolkit. Its current store description names urns, spike walls and snake pits, and explains that chains can become caught around pillars. The July Germania beta announcement adds a specific impaling interaction for its new spike traps.
| Arena element | Documented interaction | Evidence boundary |
|---|---|---|
| Urns | Throw them at enemies or throw enemies into them | No universal damage or breakage formula supplied |
| Spike walls | Charge enemies into them | No claim that every enemy or boss reacts identically |
| Snake pits | Use the arena to force foes into danger | No complete map or fixed damage rule supplied |
| Pillars | Chains can snag around them | Not a guarantee of a particular escape input |
| Germania beta spikes | Throwing an enemy into them can impale it | Beta-specific example, not a complete launch layout |
An interaction being advertised does not make every attempt safe. The source identifies possibilities; the surrounding enemies, your equipment and the party’s chain position still determine the situation you must evaluate.
How should you assess a hazard before committing?
Our recommendation is to look at the path into the interaction and the path out. Identify where your character would stand after the action and whether an ally’s route crosses the same space. A useful environmental opportunity should not be evaluated only by where you hope the enemy ends up.
For example, when considering a throw or a charge toward an obstacle, first agree on which side the group will use afterward. If the attempt fails, the team should have an alternative regroup direction. This is a tactical planning method, not a claim about guaranteed throws, attack cancellation or hazard immunity.
Why do pillars deserve attention even when they do not look damaging?
The store specifically describes chains snagging around pillars when a team is uncoordinated. An obstacle can therefore affect where the whole party can move, even if it is not itself a source of damage. Two players taking different sides can create a positioning problem neither intended.
Use short calls before passing an obstacle and check whether everyone can follow. The chain teamwork guide gives practical communication examples. Do not assume another player’s hesitation is random: an affliction, a pickup or a committed action may change what they can do.
How does environmental combat relate to equipment?
The store warns that throwing a weapon may leave you needing another one at hand. The same forward-planning principle applies when an environmental attempt changes where useful equipment lies. Look at your remaining options before deciding that a lost item must be retrieved immediately.
Read weapons and equipment for the loadout question and combat fundamentals for evaluating space. We do not publish an optimal hazard combo, a damage multiplier or an enemy-resistance table without comparable evidence.
What would make a reliable arena route or hazard chart?
It needs the actual version, location, difficulty and repeatable observation of the relevant interaction. A promotional image can show an arena without establishing every spawn, trap placement or enemy exception. A beta clip can demonstrate a move without proving the same layout at launch.
When reporting a correction, identify the arena and action, include a version-labelled screenshot or clip, and distinguish one observed result from a rule claimed for every run. This is especially important before describing a hazard as a guaranteed way to defeat a named boss.
Sources and verification
Sources reviewed October 15, 2026. Official statements, historical details and platform guidance are identified in the relevant sections. This article is source-based; no hands-on game test is claimed.
See our editorial policy for evidence standards and corrections.
Related Articles
co-op
Chained Beasts Chain Tactics: Move and Fight as a Team
Coordinate movement, avoid tangling around obstacles and use your chain deliberately with these practical Chained Beasts co-op principles.
combat
Chained Beasts Combat Guide: Weapons, Space and Hazards
Learn the confirmed combat systems in Chained Beasts and a practical way to think about attacks, thrown weapons and environmental hazards.
combat
Chained Beasts Crowd and Executions Explained
See what official announcements confirm about crowd approval and executions, with practical advice for deciding when an execution is safe.
Was this helpful?
Thanks for the feedback!